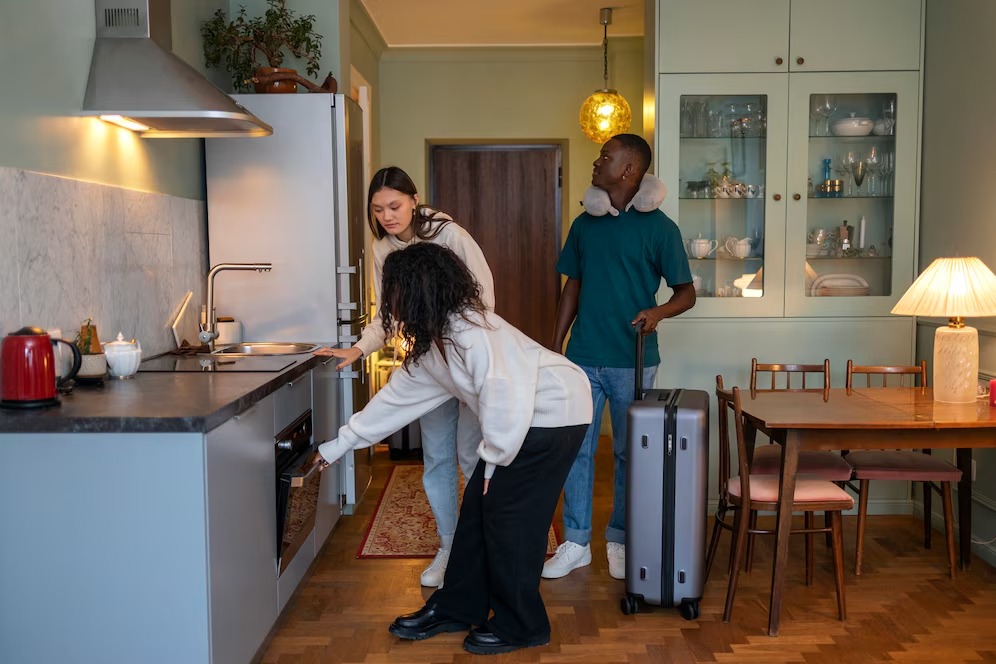
Moving can be overwhelming, and one of the most challenging areas to pack is the kitchen. Kitchen appliances come in all shapes and sizes, many of them fragile and expensive, requiring careful handling. Properly organizing and labeling your boxes not only protects your appliances during transit but also makes unpacking in your new home significantly easier.
If you’re trying to pack kitchen appliances for moving, taking the time to organize everything efficiently will save you time and frustration when setting up your new kitchen. By following a structured packing process, labeling clearly, and keeping an inventory of your items, you can ensure a smooth and stress-free unpacking experience.
Sort and Categorize Your Kitchen Appliances
Before you start packing, sort your kitchen appliances into categories. This will help you pack similar items together and make unpacking easier.
- Everyday Use Appliances: Coffee makers, kettles, toasters, and blenders should be packed separately and labeled for easy access.
- Occasionally Used Appliances: Items like food processors, slow cookers, or stand mixers can be packed together in a box that you don’t need to open immediately.
- Large Appliances: Refrigerators, ovens, dishwashers, and microwaves require special packing considerations, often needing their own boxes or professional moving assistance.
- Fragile Appliances: Any appliance with glass parts, such as a blender with a glass jar or an espresso machine with delicate components, should be wrapped securely and marked as fragile.
Use the Right Packing Materials
To protect your kitchen appliances, use high-quality packing materials. Some essential supplies include:
- Sturdy Moving Boxes: Choose heavy-duty boxes that can support the weight of your appliances. The original packaging is ideal, but if unavailable, opt for reinforced boxes.
- Bubble Wrap and Packing Paper: Wrap each appliance individually to prevent scratches and breakage. Use bubble wrap for extra cushioning.
- Foam Padding or Towels: Placing padding at the bottom of the boxes and between items adds an extra layer of protection.
- Packing Tape: Securely tape boxes shut to prevent them from opening during transit.
- Labels and Markers: Clearly label each box with its contents and handling instructions.
How to Label Kitchen Appliance Boxes for Easy Unpacking
A well-labeled box makes unpacking much easier. Here are some tips for effective labeling:
- List the Contents: Write down the key appliances inside each box, such as “Blender & Toaster” or “Coffee Machine & Accessories.”
- Mark Fragile Items Clearly: Use a red marker or “FRAGILE” stickers to indicate that the box contains breakable items.
- Use Color Coding: Assign a color to kitchen boxes (e.g., yellow stickers or tape) so movers or family members can quickly identify them.
- Indicate Priority: Label boxes you need to open first with “ESSENTIALS” so they can be unpacked immediately upon arrival.
- Add Handling Instructions: If a box needs to stay upright or has heavy contents, write “THIS SIDE UP” or “HEAVY – LIFT WITH CARE” to prevent mishandling.
For a more polished and durable option when using stickers, consider https://www.stickerit.co/en-us/custom-stickers/square-stickers to create clean, professional labels that hold up during the move.
Create a Kitchen Inventory List
Keeping track of your kitchen items ensures nothing gets lost or misplaced during the move. Create an inventory list and note down:
- What’s packed in each box (e.g., “Box 1 – Coffee Maker, Kettle, Toaster”)
- Which boxes contain fragile items
- Which boxes should be unpacked first
This list will be especially useful if you’re moving long-distance or placing items in storage before settling in.
Pack an Essentials Box for Quick Access
Not all kitchen items need to be unpacked immediately. To avoid searching through multiple boxes on moving day, pack an essentials box containing:
- Coffee maker or kettle
- A few mugs, plates, and utensils
- A small frying pan or pot
- Dish soap, sponge, and a towel
- Basic pantry items (coffee, tea, snacks)
Organizing Kitchen Appliances in Your New Home
Once you’ve arrived at your new place, start by unpacking your essentials box. Then, follow your inventory list to systematically unpack and set up your appliances.
- Unpack fragile items first to ensure they are placed in safe locations.
- Reassemble any appliances with detachable parts (such as blender blades or coffee machine attachments).
- Find permanent spots for appliances based on kitchen layout and frequency of use.
Final Thoughts
Taking the time to properly pack kitchen appliances for moving and labeling them correctly will make your transition into a new home much smoother. By categorizing, using protective packing materials, and labeling boxes strategically, you’ll not only prevent damage but also make unpacking stress-free. With these tips, you’ll have your new kitchen up and running in no time, ready to enjoy home-cooked meals without the hassle.


